Administration Guide
Checking Results of Alloy Discovery Synchronization Jobs
After you have configured an Alloy Discovery Synchronization job, you can test it to make sure the job works as expected.
INFO: For details, see Configuring Alloy Discovery Synchronization Settings.
Before you begin, complete these steps:
- Make sure the Automation Server is running. You can do this by checking the status of the Automation Server icon in the Settings status bar.
INFO: For details, see Automation Server.
- Make sure your Alloy Discovery database contains audit data.
INFO:For details, see Administration Guide: Configuring Sites and Setting Up the Audit.
To check the results of the Alloy Discovery Synchronization job immediately, follow the instructions below:
- In the Settings, navigate to Services > Automation Server using the Sidebar, right-click a job and choose Run from the pop-up menu. If the Run command is unavailable, click Refresh to refresh the Automation Server information.
- To verify whether the job has finished running and imported Alloy Discovery data, navigate to Services > Alloy Discovery Integration > Logs and review the most recent entry at the top. Log data is also available on the Sessions tab of the Alloy Discovery Synchronization dialog box where you configured the job.
INFO: For details, see Alloy Navigator Logs.
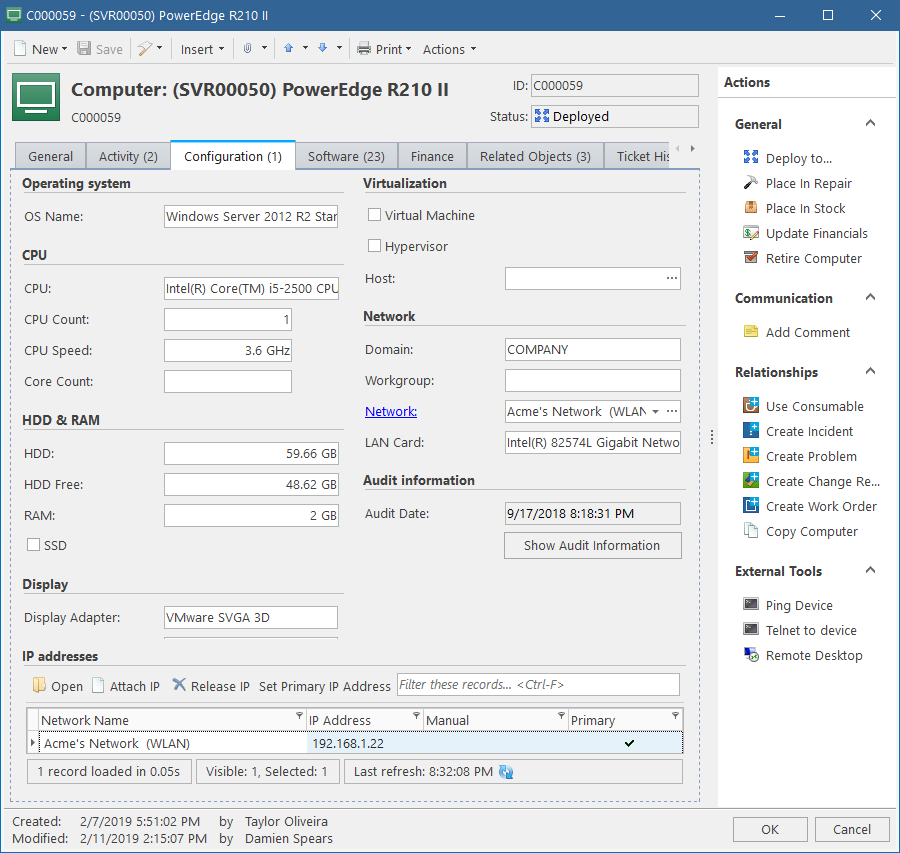
- In the Alloy Navigator Desktop App, go to Configuration Management > Computers and view created Computers. The computer’s configuration data is displayed on the Configuration tab of the Computer dialog box (see figure below). To view the audit snapshot for the computer, click the Show Audit Information button.
When the Alloy Discovery database contains Chromebooks, the default workflow Service Action (#2266) imports them as Computers in the Chromebook category.
- In the Alloy Navigator Desktop App, go to Configuration Management > Hardware and view created Hardware records.