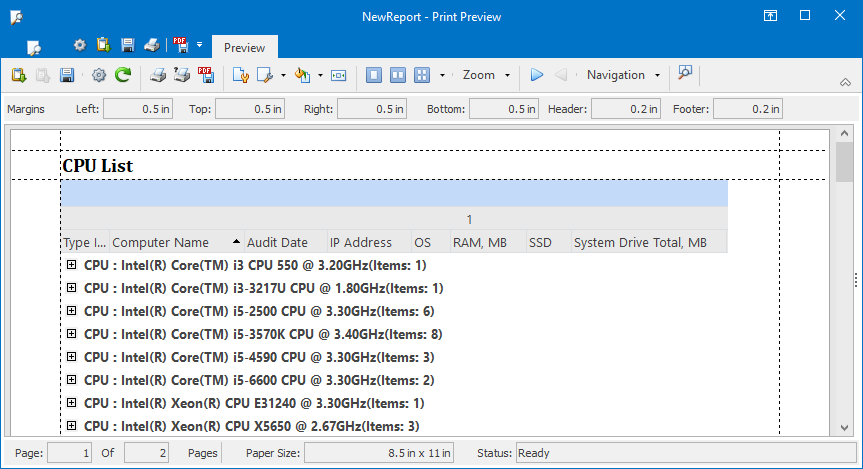
Print Preview window
You use the Print Preview to preview your quick report before printing. You can also change the way how the report appears on your computer screen and the way how your report will look when printed.
To access the Print Preview window, click File > Quick Print Preview from the main menu.
To set up the page properties:
-
Click the Page Setup icon
 on the toolbar. The Page Setup window opens.
 -
Make your changes and click OK.
To customize the report design:
-
Click the Design Report icon
 on the toolbar. The Format Report window opens.
 -
Make your changes and click OK.
To export the report to a .pdf file:
-
Click the Export To PDF icon
 on the toolbar. The
PDF Export Options window opens.
on the toolbar. The
PDF Export Options window opens. -
Make your changes and click OK.
To update the on-the-fly report with the latest data:
-
Click the Rebuild icon
 on the toolbar.
To specify the report title:
-
Select Format > Title. The Report Title window opens.
-
Make your changes and click OK.
To save the quick report as an .rps file:
-
Click the Save Report icon
 on the toolbar. The Save
Report As window opens.
on the toolbar. The Save
Report As window opens. -
Browse for the target location, type in the report name, and click Save.
IMPORTANT: The .rps file is not a report template but a snapshot of your grid data. You cannot save the layout of your quick report as a template and then fill it in with the new data.
To open an .rps file:
-
Click the Load Report icon
 on the toolbar. The Load
Report window opens.
on the toolbar. The Load
Report window opens. -
Browse for the .rps file and click Open. You cannot customize the design of a loaded report, but you can change its page properties using the Page Setup window.
IMPORTANT: When you load a quick report, Network Inventory does not update it with the new data but just opens the snapshot of grid data at the time the quick report was saved.
To close an open .rps file:
-
Click the Unload Report icon
 on the toolbar.
Alternatively to the Print Preview menu, you can use the Print Preview toolbar for running the most useful commands. For details, see Using the Print Preview toolbar.