Converting classic data views to the new experience
Introduced in 2023.2
Deprecated in 2024
This article explains how to transition your classic data views to the new experience views. This process preserves the original settings while introducing enhanced features, and ensures a smooth conversion without disrupting ongoing tasks.
Each view is converted separately. This approach allows for a gradual adaptation to the new features while keeping the original settings intact. Your classic views are preserved, offering a fallback option as you get accustomed to the new experience.
When you convert a view, the following properties are imported:
- Columns
- Filters (some complex filters may be converted into advanced SQL expressions)
- Grouping
- Sorting
- Conditional formatting
- Sharing attribute
IMPORTANT: New shared views will be initially accessible to all technicians after conversion. For details ,see About shared views.
To convert a classic view in the new experience:Switch to the target classic view and make sure that all view settings are saved.
Click Convert view in the module menu at the top of the view.
This action creates a duplicate of your classic view in the new format, resulting in two view versions: the original <View name> in the classic experience and the new <View name> (Converted) in the new experience.
Once the conversion is complete, you will receive a confirmation message.
For shared views, you will be reminded that the newly converted view "[View name] (Converted)" is initially set to be shared with everyone. For details, see About shared viewsbelow.
Now you can either switch to the new experience to review your newly converted view or stay in the classic experience to convert other views.
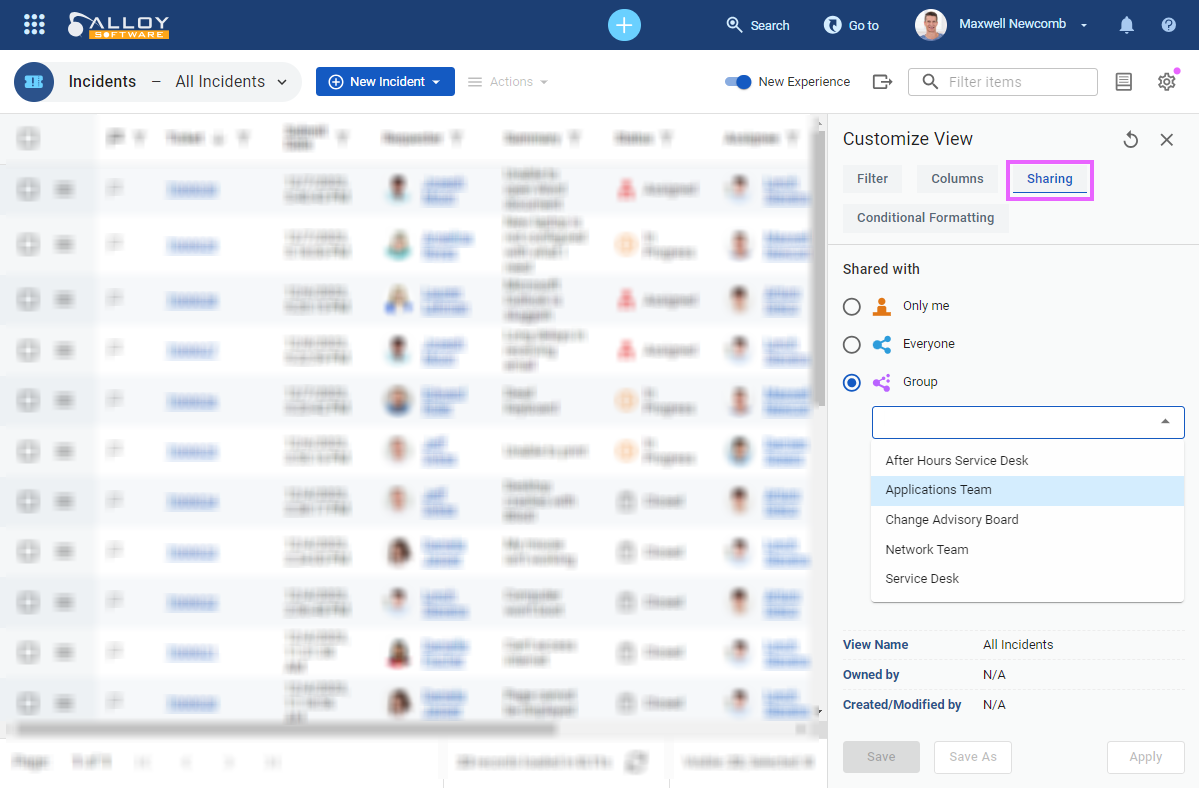
About shared views
In the classic experience, access to shared views is regulated based on the user's roles. However, in the new experience, it is determined by the user's membership in groups. This significant shift strategically improves intuitiveness, marking a distinct departure from the classic approach.
Following the conversion process, shared views will initially be accessible to all technicians ("shared with everyone"). It is crucial to review and adjust their sharing settings to align with your specific requirements and collaboration preferences. To access a view's sharing settings, navigate to the Sharing tab in the Customize View pane and choose a group to share the view with. You may also find it necessary to create new groups of technicians.
.
IMPORTANT: To convert shared views, you will need the Shared View Management permission.