Managing single sign-on (SSO) providers
Introduced in 2022.1
Updated in 2024.2
Single sign-on, or just SSO, is an authentication process that improves security and saves time for your users. When SSO is set up, users sign in just one time—to their third-party identity provider (IdP), and then access all their apps, including Alloy Navigator apps, directly, without a second sign-in.
Many organizations use an identity provider, such as Microsoft, Google, or Okta, to take advantage of SSO. If you have an identity provider in your org, you can set up SSO in Alloy Navigator.
What is SSO in Alloy Navigator?
Alloy Navigator supports SSO via the OpenID Connect protocol (OIDC SSO). This means that you need an OpenID Connect identity provider (IdP) to handle the sign-in process and provide your users’ credentials to Alloy Navigator. Microsoft, ADFS, Okta, and other major identity providers support the OIDC protocol.
Alloy Navigator supports OpenID Connect SSO in the Web App, Self Service Portal, and mobile apps. For example, see the sign-in page of the Web App having the SSO via Microsoft enabled.
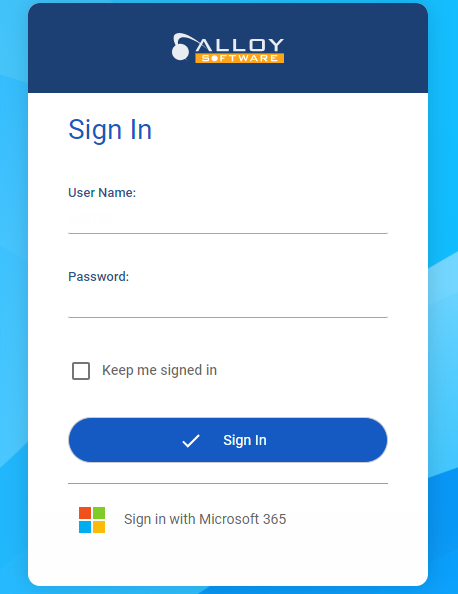
NOTE: With SSO enabled, users may still be able to sign in using their username (email) and password. To make this happen, the password authentication must be enabled in Alloy Navigator for both the web application and the user's account.
Prerequisites
If your organization uses an Identity Provider for SSO service, you can integrate that provider with Alloy Navigator. Alloy Navigator will serve the IdP as the Service Provider (SP).
These is what you will need to up SSO in Alloy Navigator:
-
You organization has an identity provider for SSO service (a SSO provider) that supports the OpenID Connect protocol.
-
Alloy Navigator users have valid email addresses, and must allow the IdP to know their email addresses. The email attribute is critical for establishing communication between your IdP and Alloy Navigator.
-
The site or sites where Alloy Navigator web applications (the Web App, Self Service Portal, and the API) are installed use the HTTPS protocols.
When all prerequisites are met, you can set up SSO in Alloy Navigator as described below. Configuration must be done on both the provider's site and in Alloy Navigator, so they can share configuration information and communicate with each other.
Setting up SSO in Alloy Navigator
To set up SSO in Alloy Navigator, you need to integrate your IdP that provides the SSO service (or "SSO provider") and Alloy Navigator. Here are the steps you should take, first on the IdP's site and then in Alloy Navigator:
Step 1: Register your Alloy Navigator app in your identity provider
First, you need to register Alloy Navigator apps in your identity provider (IdP) so the IdP can provide authentication and authorization services for Alloy Navigator apps and their users.
Each IdP requires its own steps to register (some providers call it "add") apps. For detailed instructions, see the documentation for your identity provider:
-
For Microsoft, see Register Alloy Navigator in Microsoft 365 (Office 365).
-
For Okta, see Register Alloy Navigator in Okta.
-
For ADFS, see Register Alloy Navigator in AD FS.
-
For Google, see Register Alloy Navigator in Google.
Typically, you will need this information for adding Alloy apps.
| Parameter | Value |
|---|---|
|
Sign-in method |
ODIC (or OpenID Connect) |
| Application type or Platform |
Alloy Navigator web apps (the Web App and Self Service Portal):
Alloy Navigator mobile apps (Alloy Navigator, Alloy Inventory Scanner, and Alloy Self-Service):
|
|
Redirect URIs (or Sign-in Redirect URIs) A redirect URI is the location where the identity provider redirects a user's client and sends security tokens after authentication |
Alloy Navigator web apps (the Web App and Self Service Portal):
Alloy Navigator mobile apps (Alloy Navigator, Alloy Self-Service):
|
Step 2: Create a SSO Provider record in Alloy Navigator
To store IdP metadata in Alloy Navigator, add a SSO Provider record in Alloy Navigator. You can complete this task either in the desktop Settings or the web-based Admin Center.
Here is what you will need to configure your SSO provider in Alloy Navigator. All these data are available in your IdP.
- Client ID: An OpenID Connect client ID provided by your IdP
- Client secret: A client secret for the Alloy Navigator app provided by your IdP
- Authority: An OpenID Connect endpoint URL (HTTPS protocol must be used)
- Full Name Claim: The claim where your IdP stores user full names (we need that claim for creating Person records for self-registering Self Service Portal customers)
- User Name Claim: The claim where your IdP stores usernames (email addresses); those usernames must match usernames (email addresses) in Alloy Navigator accounts
To add an SSO Provider record for Microsoft:
To add an SSO Provider record for Okta:
To add an SSO Provider record for AD FS:
To add an SSO Provider record for Google:
To add an SSO Provider record for a custom IdP:
-
Access your web-based Admin Center or desktop Settings App.
-
Go to
-
In the Name field, enter a name for your SSO provider. Users will see that name in the sign-in dialog as Sign in with [Name].
-
In Authority field, review (or provide) the service endpoint URL path. Note that it must start with
https://. Secured protocol must be used. -
Provide the credentials of your Alloy Navigator from the IdP:
-
Client ID: The unique identifier that the Alloy Navigator app will use when requesting an access token from the IdP.
-
Client Secret: The secret string that the Alloy Navigator app will use to prove its identity when requesting an access token from the IdP.
-
-
Provide the Full Name Claim and the User Name Claim, so that the Alloy Navigator can obtain the user name.
-
Click
Now you can configure your Alloy Navigator web and mobile applications.
Step 3: Configure the Alloy Navigator apps to use SSO
Once you've created the SSO Provider record, enable SSO for the applications you want to use it with. Configure each application separately—the Web App, Self Service Portal, and the API (used by Alloy mobile apps). You will need the web-based Admin Center for this task.
IMPORTANT: Changes to SSO authentication will restart the web application, closing all active connections and potentially causing loss of unsaved data for users. To minimize disruption, consider applying these changes during non-working hours and notifying users in advance.
To configure SSO in the Web App, Self Service Portal, and Alloy mobile apps:
-
Access the Admin Center.
-
Navigate to Apps and Portals > [Web App / Self Service Portal / API] and go to the Authentication page.
IMPORTANT: SSO authentication options in the Admin Center are available only when your web apps and portals use the Standard Authentication method (enabled by default). If these options are missing, on-premises customers can enable Standard Authentication via the Web Configuration tool, while cloud customers should contact the Support Team for assistance with this step.
-
Select the desired SSO providers under Available Single Sign-On services.
If you want users to also sign in with their username (email address) and password, select the Allow password authentication checkbox under Password Authentication. You may also need to enable password authentication in the user's account.
- Click Save and Restart. This will restart the instance to immediately apply your changes.
For example, see how to enable SSO for the Web App in the screenshot below.
