Administration Guide
Creating Templates
When a technician uses a Template, Alloy Navigator Express creates an object of the specified class and assigns initial values to object fields in accordance with the Template definition. Before saving, the technician can change these initial values and specify other object details directly in the object details window.
INFO: Templates can be created for any object classes except for Tickets.
To
- From the Sidebar, navigate to
- Click New. The
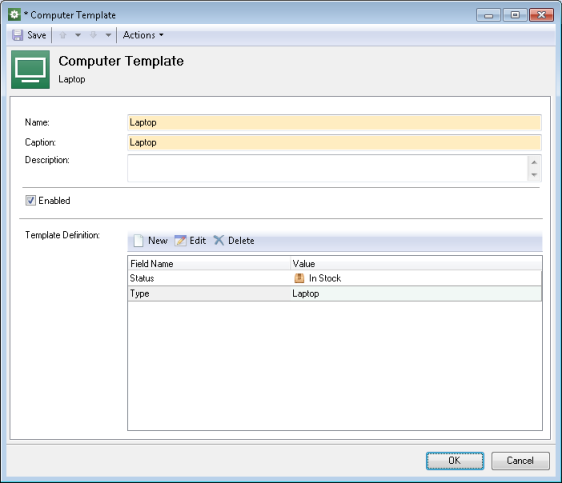
-
- In the Caption field, type the caption that will be displayed to the user in the New menu. The Caption field is initialized with the name you entered in the previous step.
- Optional: Enter a description for this Template in the Description field.
NOTE: Keep the Enabled check box selected. Otherwise, this Template will be unavailable to users.
- Under Fields, specify how this Template will assign initial values to fields of newly created objects:
- Click New. A new row appears.
- Select an object field in the Field Name field and enter its initial value in the Value field.
Repeat these steps to specify initial values to other fields. If you want to remove a field from the Template, select it and click Delete.
- When done, click OK.