Customizing Forms for Creating Objects
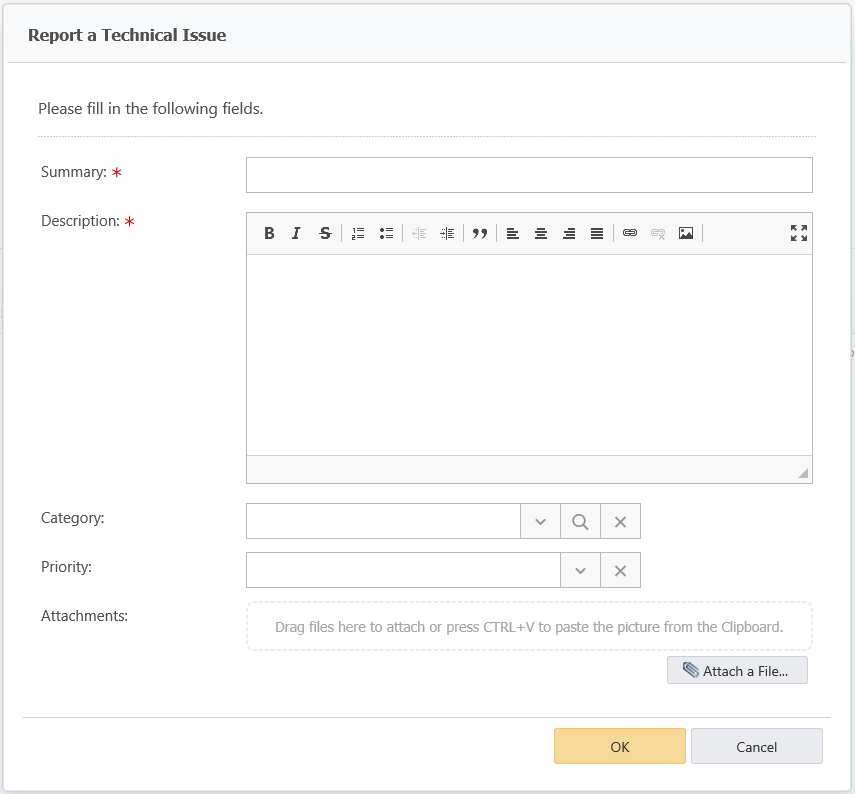
Alloy Navigator Express includes the standard form for creating new objects in the Self Service Portal: the New Equipment Reservations Form. This form prompt customers for relevant information when they submit a Equipment Reservation. You can add new fields to the default form, assign initial field values, make fields mandatory or read-only, delete unneeded fields, change field labels and display order, organize fields into sections, and add instructional text, that may include hyperlinks, as illustrated below.
- From the Sidebar, navigate to Customization > General > Self Service Portal > Forms.
- Under Tickets or Equipment Reservations, click New Equipment Reservations Form, review the default form, and customize it as needed:
- To add a new field:
- Click New. The Form Field dialog box opens.
- Select a field name from the Name list.
- Type a field label in the Label field. If you want to use a default label (a field name selected in the previous step), leave the Label field blank.
NOTE: The default labels are configured for the English (United States) language pack. If you plan to use different languages, you need to update the field label in localization dictionaries. For details, see Localizing Forms.
- To make the field either mandatory or read-only, select the corresponding check boxes under Options.
- Click OK.
Repeat these steps to create additional fields. If you want to remove a field from the Form, select it and click Delete.
- To add a section separator:
- Select a field under which you want to add a section separator and click New > Section. The Section dialog box opens.
- Type a caption for the section. To create a section with no caption, leave the Section caption field empty.
- Click OK.
Repeat these steps to add other sections as needed. To remove a section separator, select it and click Delete.
- To add text or a hyperlink:
- Click an element (a separator or field) under which you want the text or hyperlink to appear and click New > Text. The Text dialog box opens.
- Type your text. To insert dynamic values, click Insert Placeholder and select a value using the Select Placeholder dialog box.
INFO: For details, see Inserting Placeholders.
- If you want this text to become a hyperlink, provide the full path for the hyperlink in the URL field. To insert dynamic values, click the ellipsis button and select a value using the Select Placeholder dialog box.
NOTE: The Self Service Portal supports only these types of hyperlinks:
http,https,ftp,ftps, andfile(in Google Chrome, links to local files are disabled). - Click OK.
- To add a new field:
- All elements appear on the View Form in the order they are listed. If you want to change their display order, use the Move Up and Move Down buttons.
- Click Save.