Customizing your SSP homepage with pre-defined templates
Introduced in 2021.1
On-prem only
The Self Service Portal homepage provides quick access to all information and tasks available for your customers. This article describes what the homepage contains and explains how to customize the homepage's appearance.
FOR CLOUD CUSTOMERS: Please note that homepage customization is only available for on-premises deployments. Contact our Support Team for assistance with this step.
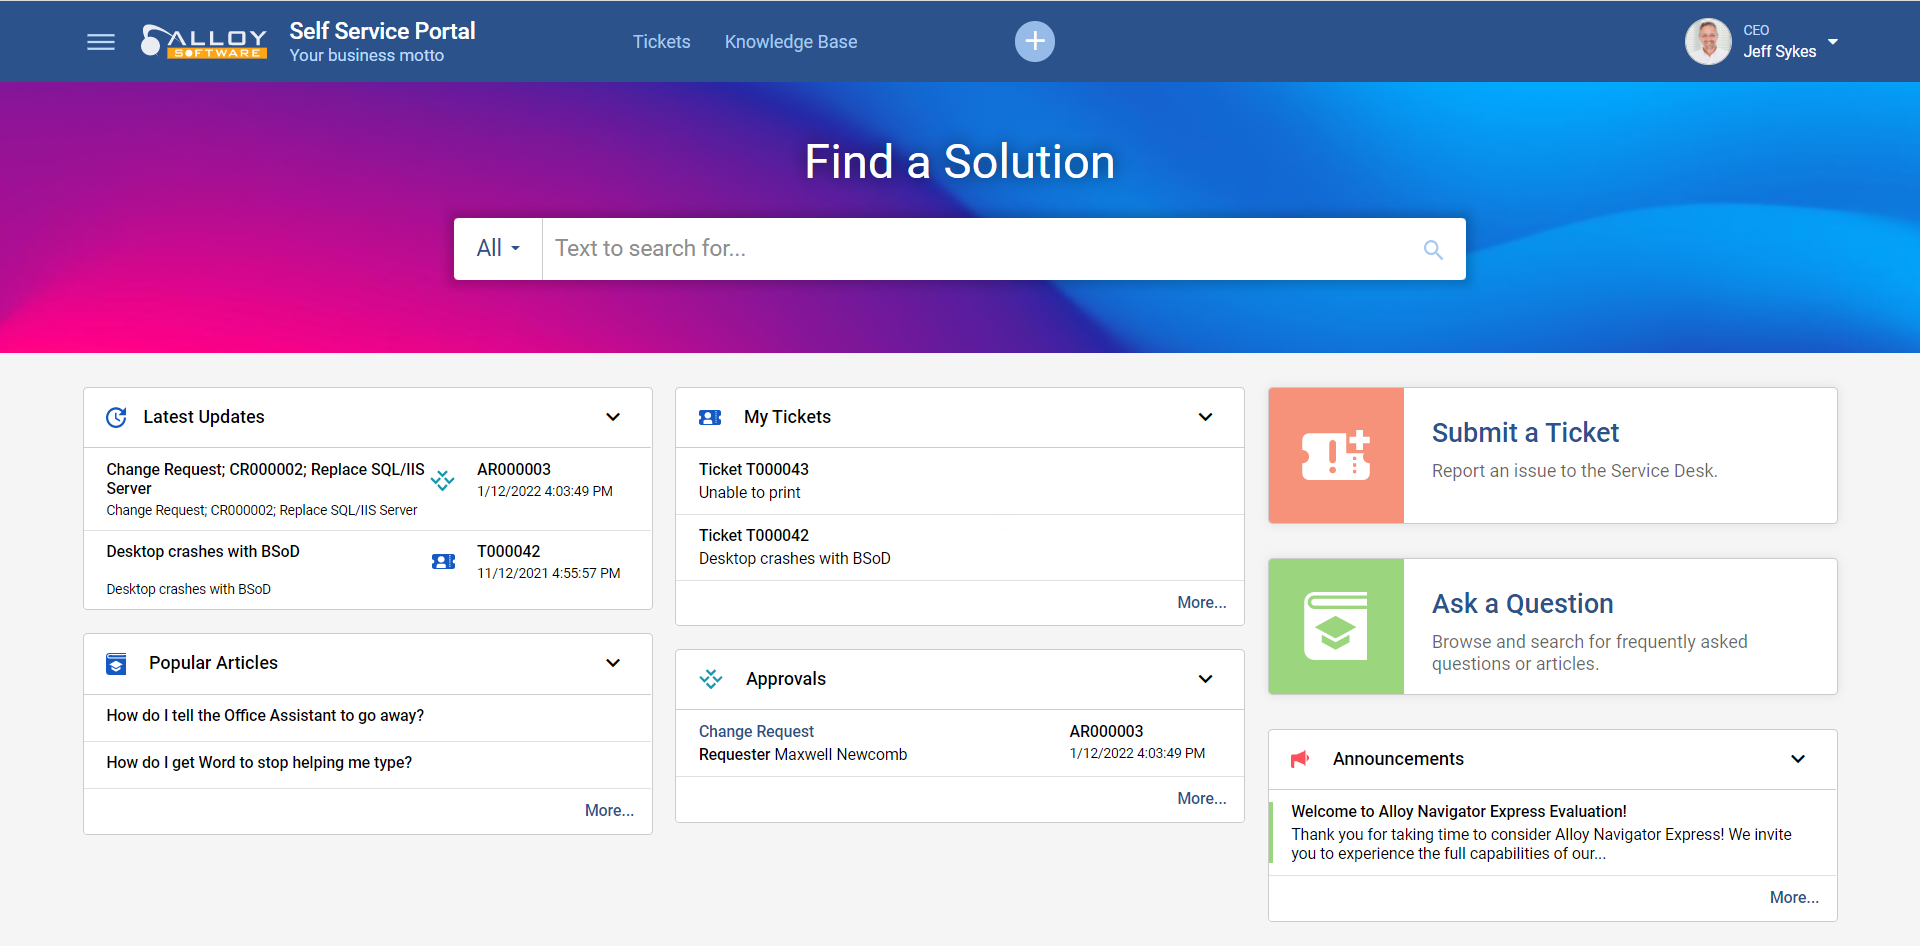
The homepage consists of a large search box for searching the knowledge base and a grid of elements for everything your customers would need for self-serve, including buttons for submitting tickets and asking questions, and collapsible widgets for quick access to their open tickets, latest activities, and other information. The appearance of the homepage is defined by the homepage's template.
The homepage's template controls these visual aspects of the Self Service Portal:
-
Layout: The homepage's layout defines how many columns the homepage has, i.e., the layout of the homepage elements (buttons and widgets) under the search box.
-
Theme: The color theme defines the overall look, feel and style of the homepage and the whole Self Service Portal and has a direct impact on your customers' experience.
The Self Service Portal comes with a package of beautiful homepage's templates. For example, the default "Ocean Depth" template results in a three-column homepage with vivid colors, as shown below. You can change the template to easily customize how your Self Service Portal looks and feels.

NOTE: The actual content of the homepage depends on the SSP scope, i.e. the Alloy Navigator Express modules that the administrator selected when configuring the portal. Installation Guide: Defining the Self Service Portal's Scope.
To change the homepage's template:
-
On the web server hosting the Self Service Portal, launch the Web Configuration tool (for example, from the Alloy Control Panel).
-
Navigate to the Self Service Portal using the sidebar. Typically, it is installed into the "hd" virtual directory.
-
Under Features on the right hand side, click Configure. The Configure Self Service Portal wizard starts.
-
Navigate to the Home Page section and click the down arrow to open the drop down list with the available templates.
Switch between templates until you are satisfied. The preview pane reflects the chosen template.
-
Select the desired template and click Next.
-
Complete the wizard to apply the new template.
You can always revert to the defaults by choosing the default template.
TIP: You can even create custom templates if needed. The Self Service Portal stores its homepage templates in the [PhysicalPathToSSP]\HomePage\ directory. Start with copying the contents of a folder for one of the existing templates (the best choice is the default one) into a new folder inside that directory, make your customizations, and then apply your custom template using the Web Configuration tool. Note that building SSP homepage templates requires some programming and design skills and a strong understanding of LESS (which stands for Leaner Style Sheets), a language extension for CSS. For details, see Customizing the SSP homepage layout.