Installation Guide
Checking the API Module
Updated in 2024.2
After installing and configuring the API module, you may want to quickly check if it's up and running.
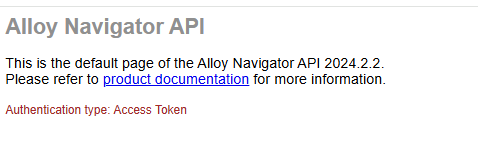
The easiest way to do this is by accessing the API instance through your web browser. Simply enter the instance's URL in the address bar. If the browser displays the API's default page, everything is working as expected. The default page displays the following information:
- Version
- Link to the API User Guide.
- Authentication type
See an example of the API default page for version 2024.2.2:
For further testing, you can send HTTP requests using cURL or API testing tools like Postman to check the API's status and functionality based on the responses received. For details, see API User’s Guide.