Adding Attachment Areas
To create an Attachment Area for adding files, follow these steps:
-
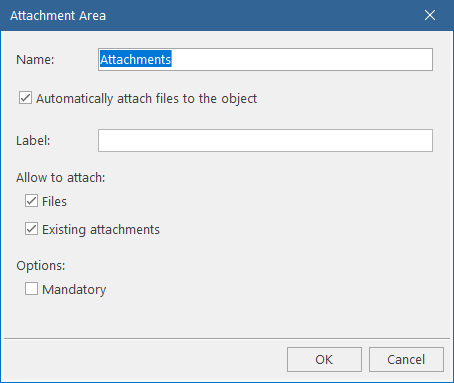
Click New > Attachment Area. The Attachment Area dialog box opens.
-
In the Name field, specify the name for the attachment area. You will use that name to refer to the attachment area in conditions and other operations.
-
To add files from the attachment area to the current objects, select the Automatically attach files to the object check box.
NOTE: Regardless of the check box state, you can always use attachments from this area in the business logic, i.e., in the Programming section of the current action.
-
If you want a caption different from the attachment area name, type it in the Label field.
-
Under Allow to attach, choose what users can attach in this area:
-
To allow adding files from local or network drives, select the Files check box. The attached files will be uploaded to the Alloy Navigator database.
-
To allow adding the existing files from the Alloy Navigator database using the Attachment Browser, select the Existing attachments check box.
Self Service Portal users can always attach files from their local or network drives but never can use the Attachment Browser. This means that regardless of the state of these check boxes, the attachment area in the Self Service Portal would behave as if the Files check box is selected and the Existing attachments check box is cleared.
-
-
If you want adding attachments in this are to be mandatory, select the Mandatory check box.
-
Click OK.