Administration Guide
Assigning Tags to List Items
To assign tags to one or more list items:
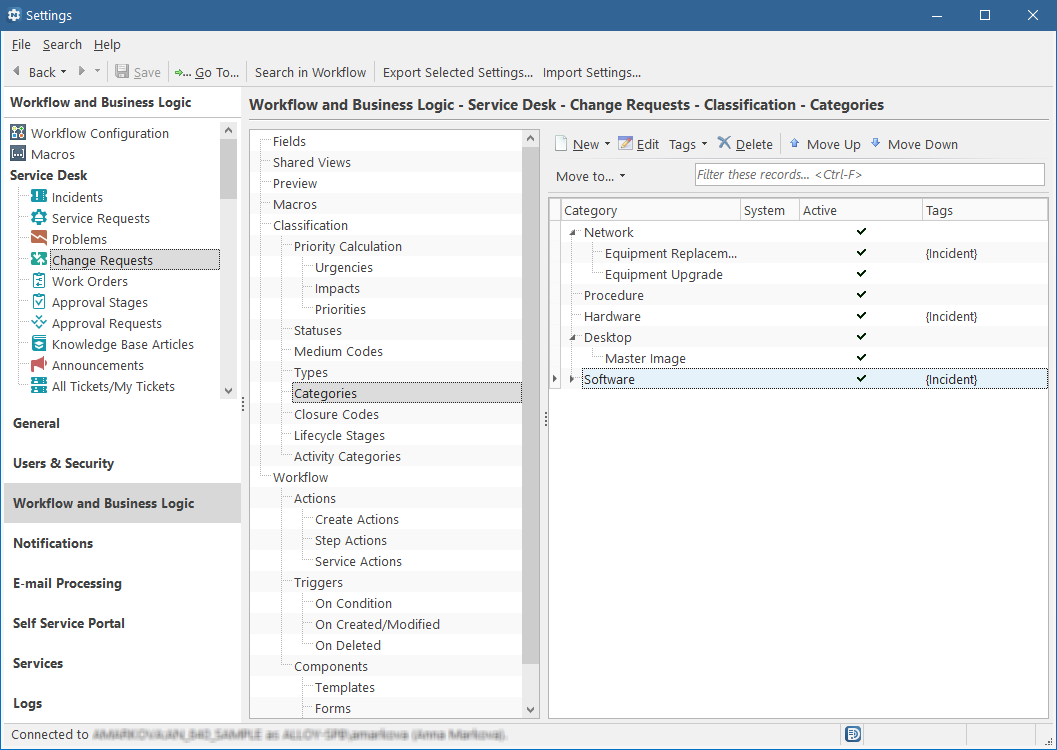
- From the Sidebar, navigate to Workflow and Business Logic > [Module] > [Object Class] > Classification > [Lookup List].
- Select one or more items in the list and click Tags > New on the Module menu. The Add Tag dialog box opens.
- Type a tag value in the Tag field.
- Click OK. Your list items are tagged, and you can view their tag in the Tags column.
You can assign multiple tags to a single list item. Each tag will be enclosed in curly brackets.
NOTE: You can also copy and paste tags from one item to another. For details, see Copying Tags.